Home design enthusiasts know that DIY activities are a popular way to create attractive and distinctive décor. DIY projects may be rewarding, but it can be challenging to find something that is both enjoyable and easy.
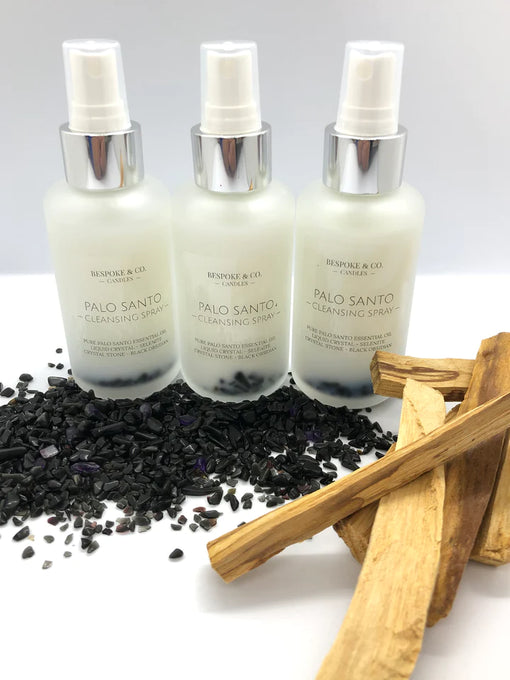
The scented candles in Australia are a favourite DIY activity among crafters for a good reason: they are infinitely adaptable, gorgeous, and easy to build. Scented candles are cherished long after February is through for a present, so make one for a Valentine. We will demonstrate how to create scented candles in Australia at home in the following post!
Measure the Wax:
Ensure you have a clean, levelled area to work on before starting the candle-making procedure. Anything you don't want wax on should be moved. You may also use newspaper or paper towels to protect the area.
Do a doubling of the amount of wax you need to fill the container once you have measured it out. To melt so much wax, you will need to use a double boiler.
Put the Wax in a Pot and Warm It Up:
Pour the wax into a double boiler and heat it for 10 minutes. Continue stirring to prevent scorching or burning.
Incorporate Essential Oils for Scent:
It is time to add your choice of essential oil to your melted wax. I personally love adding lavender oil to make a gorgeous, scented soy candle wax. Stir for two minutes after adding it to the melted wax. Even though this stage is optional, we strongly suggest it! You get a beautiful scent, completely non-toxic. The amount of wax to use is specified on the packaging.
The Wick Is Attached:
Before adding the wax, ensure the wick is secured to the bottom of the container. The wick may be attached by using double-sided wick tape to secure it. Alternatively, the wick may be attached by swiftly adhering it to the bottom of the bottle after putting in the melted wax. If this is the case, read the next step, then, allow the wax to solidify for five minutes.
Put the Wax in the Container:
When the thermometer registers 80 degrees Celsius, it is time to start the pouring process. After that, carefully pour the hot wax liquid into the container you have prepared. The wick should be held in position, but not pulled on. Allow a tiny bit of wax to remain inside the boiler for subsequent use.
Increase the Quantity of Wax Used:
If the top of your candle has cracked or holed, reheat it and add the leftover wax to fix the problem. Allow for hardening.
Snip the End:
The wick of your candle should be no more than 1⁄2 an inch in length. Trim the wick if it's too long, or if the candle flickers when it's lit. Look at a guide the next time you are looking for a quick and meaningful present idea. After reading this guide, you may save or pin the infographics for future reference.
Finally:
Candles are a great way to give light and warmth to any room, but they usually don't last long and may be rather expensive. Soy wax is an excellent choice if you're worried about the air quality inside your house. Even though candles come in various shapes and sizes, they all have three essential components: wax, wick, and holder. But, be sure to use the correct wax & wick for the task. Making your candles is as simple as experimenting with different fragrances and oils.
Buy scented candles online at Bespoke & Co. Candles. Let us know what you're looking for, and we'll make it happen!
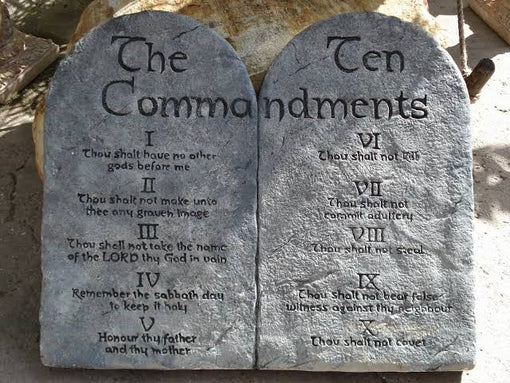
In the tapestry of human history, few doctrines have woven as profoundly into the moral fabric of society as the Ten Commandments. These ancient directives, believed to be bestowed upon Moses by God on Mount Sinai, stand as enduring pillars in the religious traditions of Judaism, Christianity, and Islam. In this exploration, we delve into the significance of the Ten Commandments, their relevance in our contemporary world, and the profound wisdom they offer in navigating the complexities of modern life.
The Divine Revelation:
The biblical account, nestled within the Book of Exodus, chronicles the pivotal moment when the Israelites, liberated from Egyptian slavery, found themselves at the foot of Mount Sinai. Here, Moses embarked on a transcendent journey, ascending the mountain to commune with the divine. Over forty days and forty nights, amidst thunder, lightning, and a thick cloud, God inscribed the Ten Commandments onto stone tablets with a finger of celestial power.
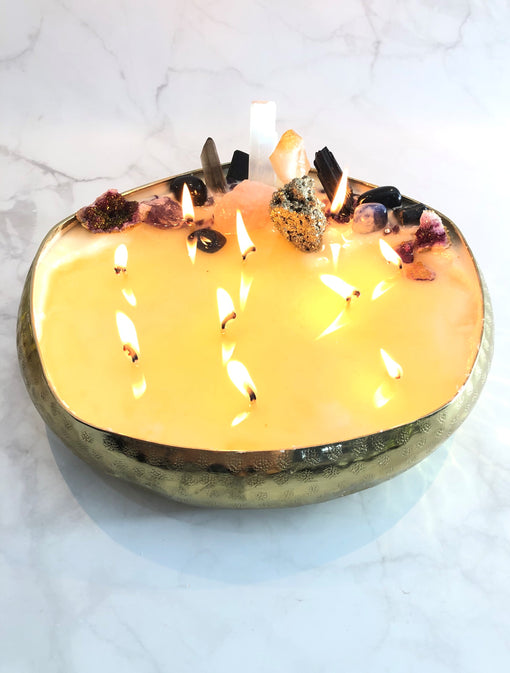
Our commitment to excellence has not gone unnoticed. We are thrilled and humbled to have been awarded the prestigious title of Australia's Best Wellbeing Candle Brand. This recognition is a testament to the unwavering passion and commitment of our team to create candles that bring comfort, relaxation, and a sense of well-being into the lives of our customers.
At Bespoke and Co Candle, we believe that a candle is more than just wax and fragrance; it's a source of comfort, a mood enhancer, and a symbol of self-care. We are honored to share our passion with you through our candles, and we look forward to continuing to provide you with the finest candle experiences that Australia has to offer.
Thank you for choosing Bespoke and Co Candle, where craftsmanship and passion meet to illuminate your world.